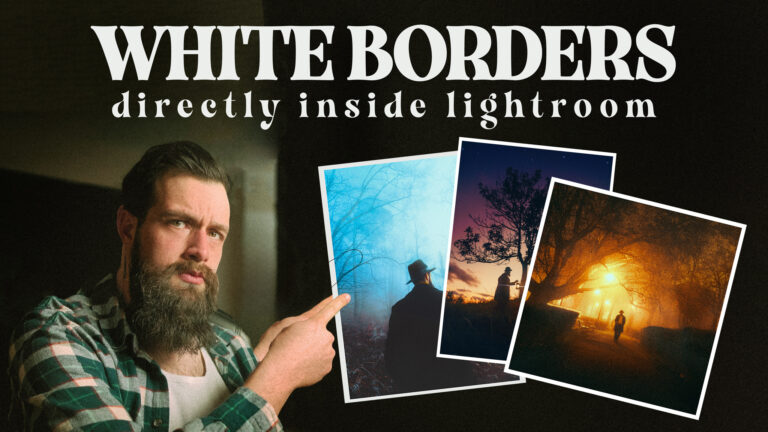
You heard it right – No Photoshop required!
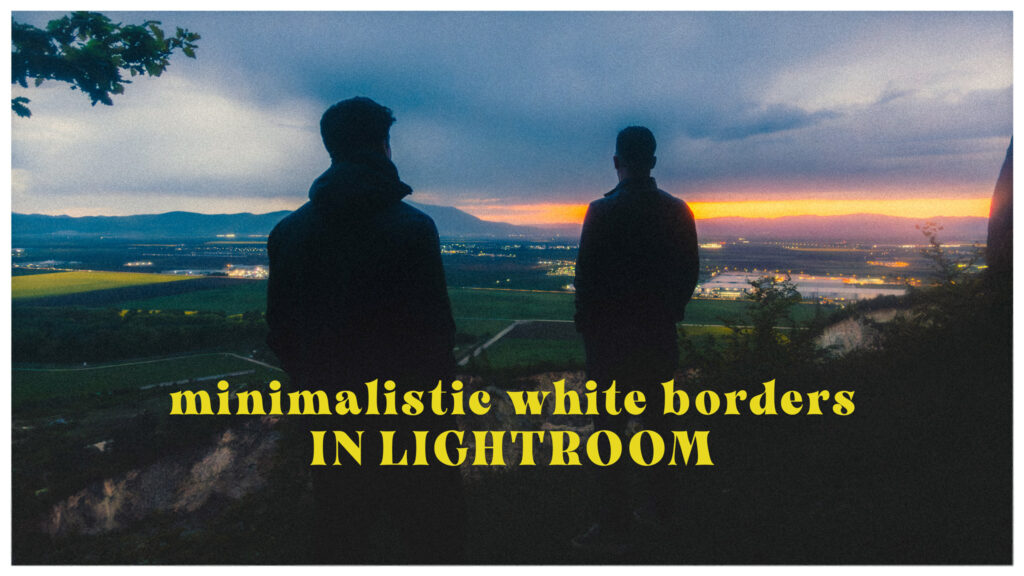
This has been in the back of my mind for quite a while now. I’ve seen multiple times requests for this feature on Reddit and even on some of my previous posts people were asking if there is any method to get borders directly in Lightroom. Today I can say for sure that we can!
But before I start explaining how I’ll admit that the whole going back and forth with my photos between Lightroom and Photoshop annoys me on a personal level. Additionally, this kind of madness is just part of my ongoing obsession with working on raw files in a non-destructive way. As a result, making these presets that add Borders in Lightroom could easily be considered a part of the series of quests where I’m trying to add unsupported features to Lightroom Classic just so I don’t have to use any other software.
Why do I want White Borders in Lightroom?
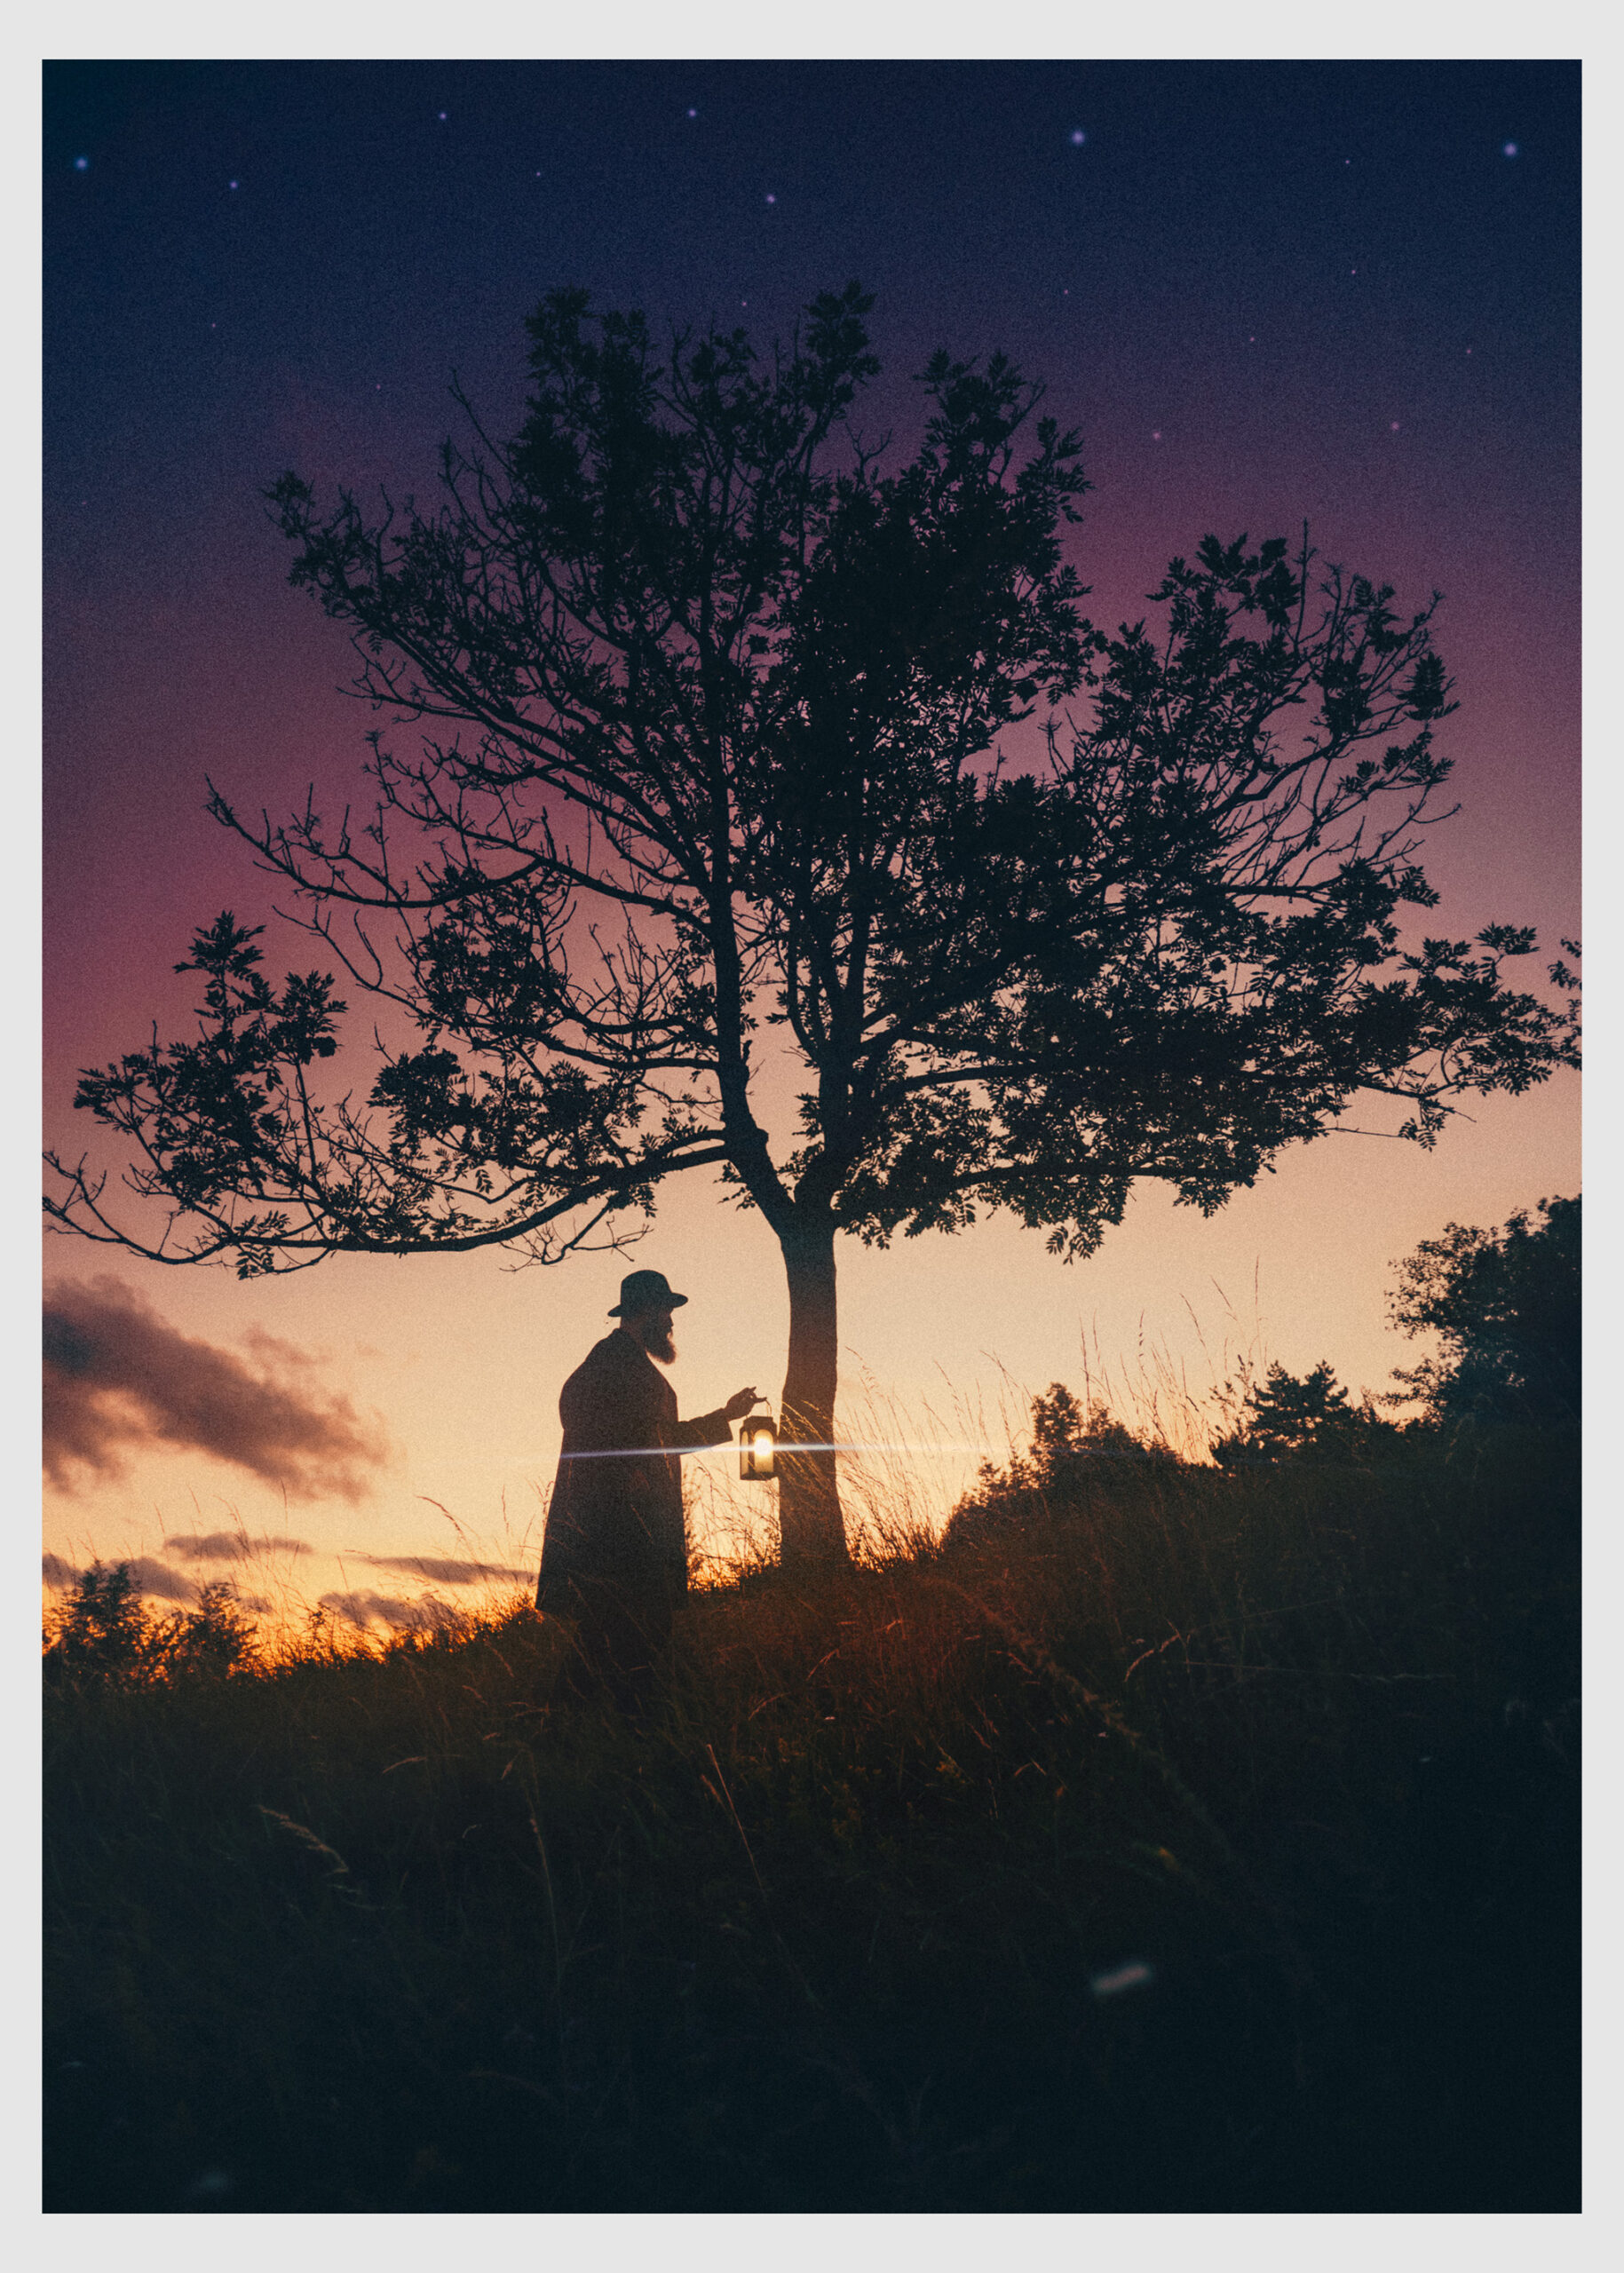
First of all, it’s the nostalgia factor. Borders have a way of making a photo feel like a tangible print. I always try to have a certain timelessness to my work, and adding borders is one of those little details that help make them look like they belong in a different period. Additionally, White borders can help your photos stand out in a busy social media feed and make them shine just like highlighter can make you look at a specific word on a page full of text. And while I’m fully aware that borders might not be everyone’s cup of tea let’s get nerdy so everyone can learn something from this article.

My goal was to use Lightroom masking and Lightroom Presets systems and combine that with a bit of code to editing to force Lightroom to do my bidding and create beautiful minimalistic border masks that one can apply with just one click.
Lightroom’s Coordinate System for Masking
Some of you probably know that Lightroom presets are just a bunch of settings saved in a .xmp file. These files contain parameters for color grading, tone adjustments, curves, color grading wheels, and even camera profiles. Every slider you can pull on in Lightroom has a written version that looks something like this: crs:GrainAmount=”25” and this means the grain amount slider is set to 25.
When it comes to masking, Lightroom needs to know where to apply the settings, which gets a bit complicated due to its use of a normalized coordinate system for positioning masks. Instead of measuring in pixels, it defines positions using values from 0 to 1, where:
- X = 0 is the left edge of the image, and X = 1 is the right edge.
- Y = 0 is the top edge, and Y = 1 is the bottom edge.
This means that no matter what size and aspect ratio your images have, the mask positions will adapt accordingly, and this is the secret sauce that makes Lightroom presets work across any resolution or aspect ratio. For extra precision, it goes down to 6 decimals so a point will look something like this:
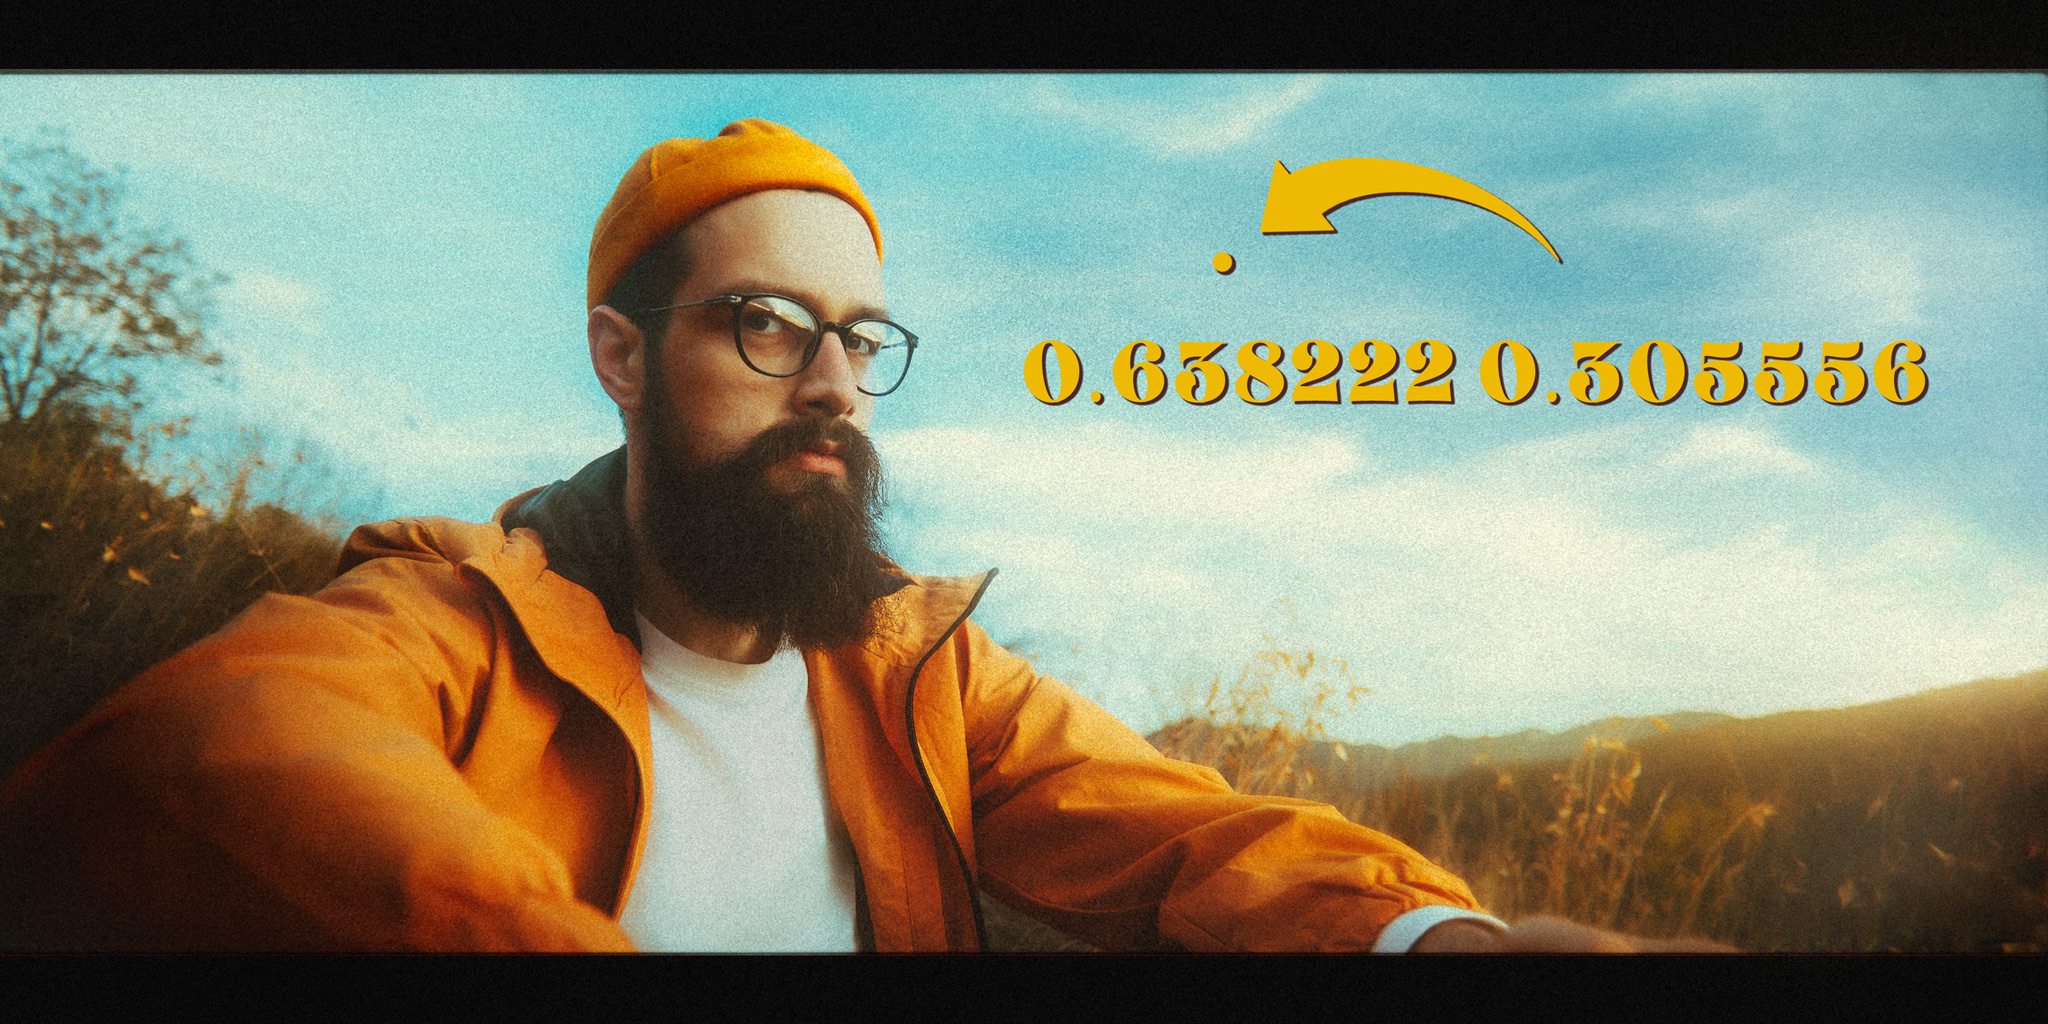
Not to mention that masks can extend beyond the 0–1 range, meaning negative values place the mask outside the image on the left or top, while values above 1 extend it past the right or bottom edges.
By using this normalized coordinate system inside the .xmp files Lightroom can store most of the original masks. For example, a linear gradient is stored saving 2 points. The position you first clicked on the photo and the position where you released that click.
While, a brush stroke with the LIghtroom Brush Mask is stored as a series of dots that put together define the path you used for your brushstroke. So this will turn into a huge list of coordinates but since it is just text the preset file will remain rather small. But to be able to create an entire brush stroke the program also needs to know the settings of your brush.
Putting everything together and creating Lightroom Borders!
So how do I combine all this to get White borders inside of Lightroom?
Well, the obvious choice would be to use 4 Linear gradients on the edges of the photo, one on each side. But that doesn’t exactly work as intended for some reason and if you have already applied lens correction or did an angled crop to your photo the borders will be slanted. Instead, I used a brushed-on mask to create my presets. They apply to the current edges of the image, regardless of the previous crops or transforms, and since Lightroom stores the brush radius as a value between 0 and 1—where 0 is the smallest possible size and 1 is the with of the image — I can precisely control it the size of my borders editing the .xmp code and some math.
For the positioning, I needed to generate a very long list of dots alongside the edges of my image so I wrote a script to creat this huge list of points with very precise increments. To top it off I want to take a second to mention that this was the first time I used some of the C++ that I learned in school.
#include <iostream>
#include <iomanip> // For std::fixed and std::setprecision
using namespace std;

int main()
{
    // Loop through values from 0.0000 to 1.0000
    for (int i = 0; i <= 10000; i++)
    {
        float y = i * 0.0001f; // Calculate y with 4 decimal precision
        cout << "<rdf:li>d " << fixed << setprecision(4) << y << " 0.001000</rdf:li>" << endl;
    }
    return 0;
}
Running this 4 script times with small changes helped me generate all the positions and so now it’s time for a bit of simple math. To calculate the width of borders created in Lightroom with this method I am using brush radius setting. So if I want my border to be 1% of the width of the image I will set the brush radius to be equal to 0.01. This ensures my borders are evenly thick on all edges of the photo. To keep the borders solid, I set the crs:CenterWeight=”1″ and maxed out the pressure.
The final challenge was figuring out how to get pure white (or black) borders. Well, that is extremely easy, especially when compared to all the previous madness. Inside the mask I have previously created a flat line in the curves panne will get any tone to perfect white
DIY or Download? Lightroom Borders Made Easy
It’s all up to you. You now know all that it takes so now you can go make your own and I am sure that some other photography nerds can improve on my method and get other creative-looking borders out of it.
But if you don’t feel like going through all this, you also have the option of getting the:
Pack of 12 Lightroom Borders https://vmoldo.gumroad.com/l/borders
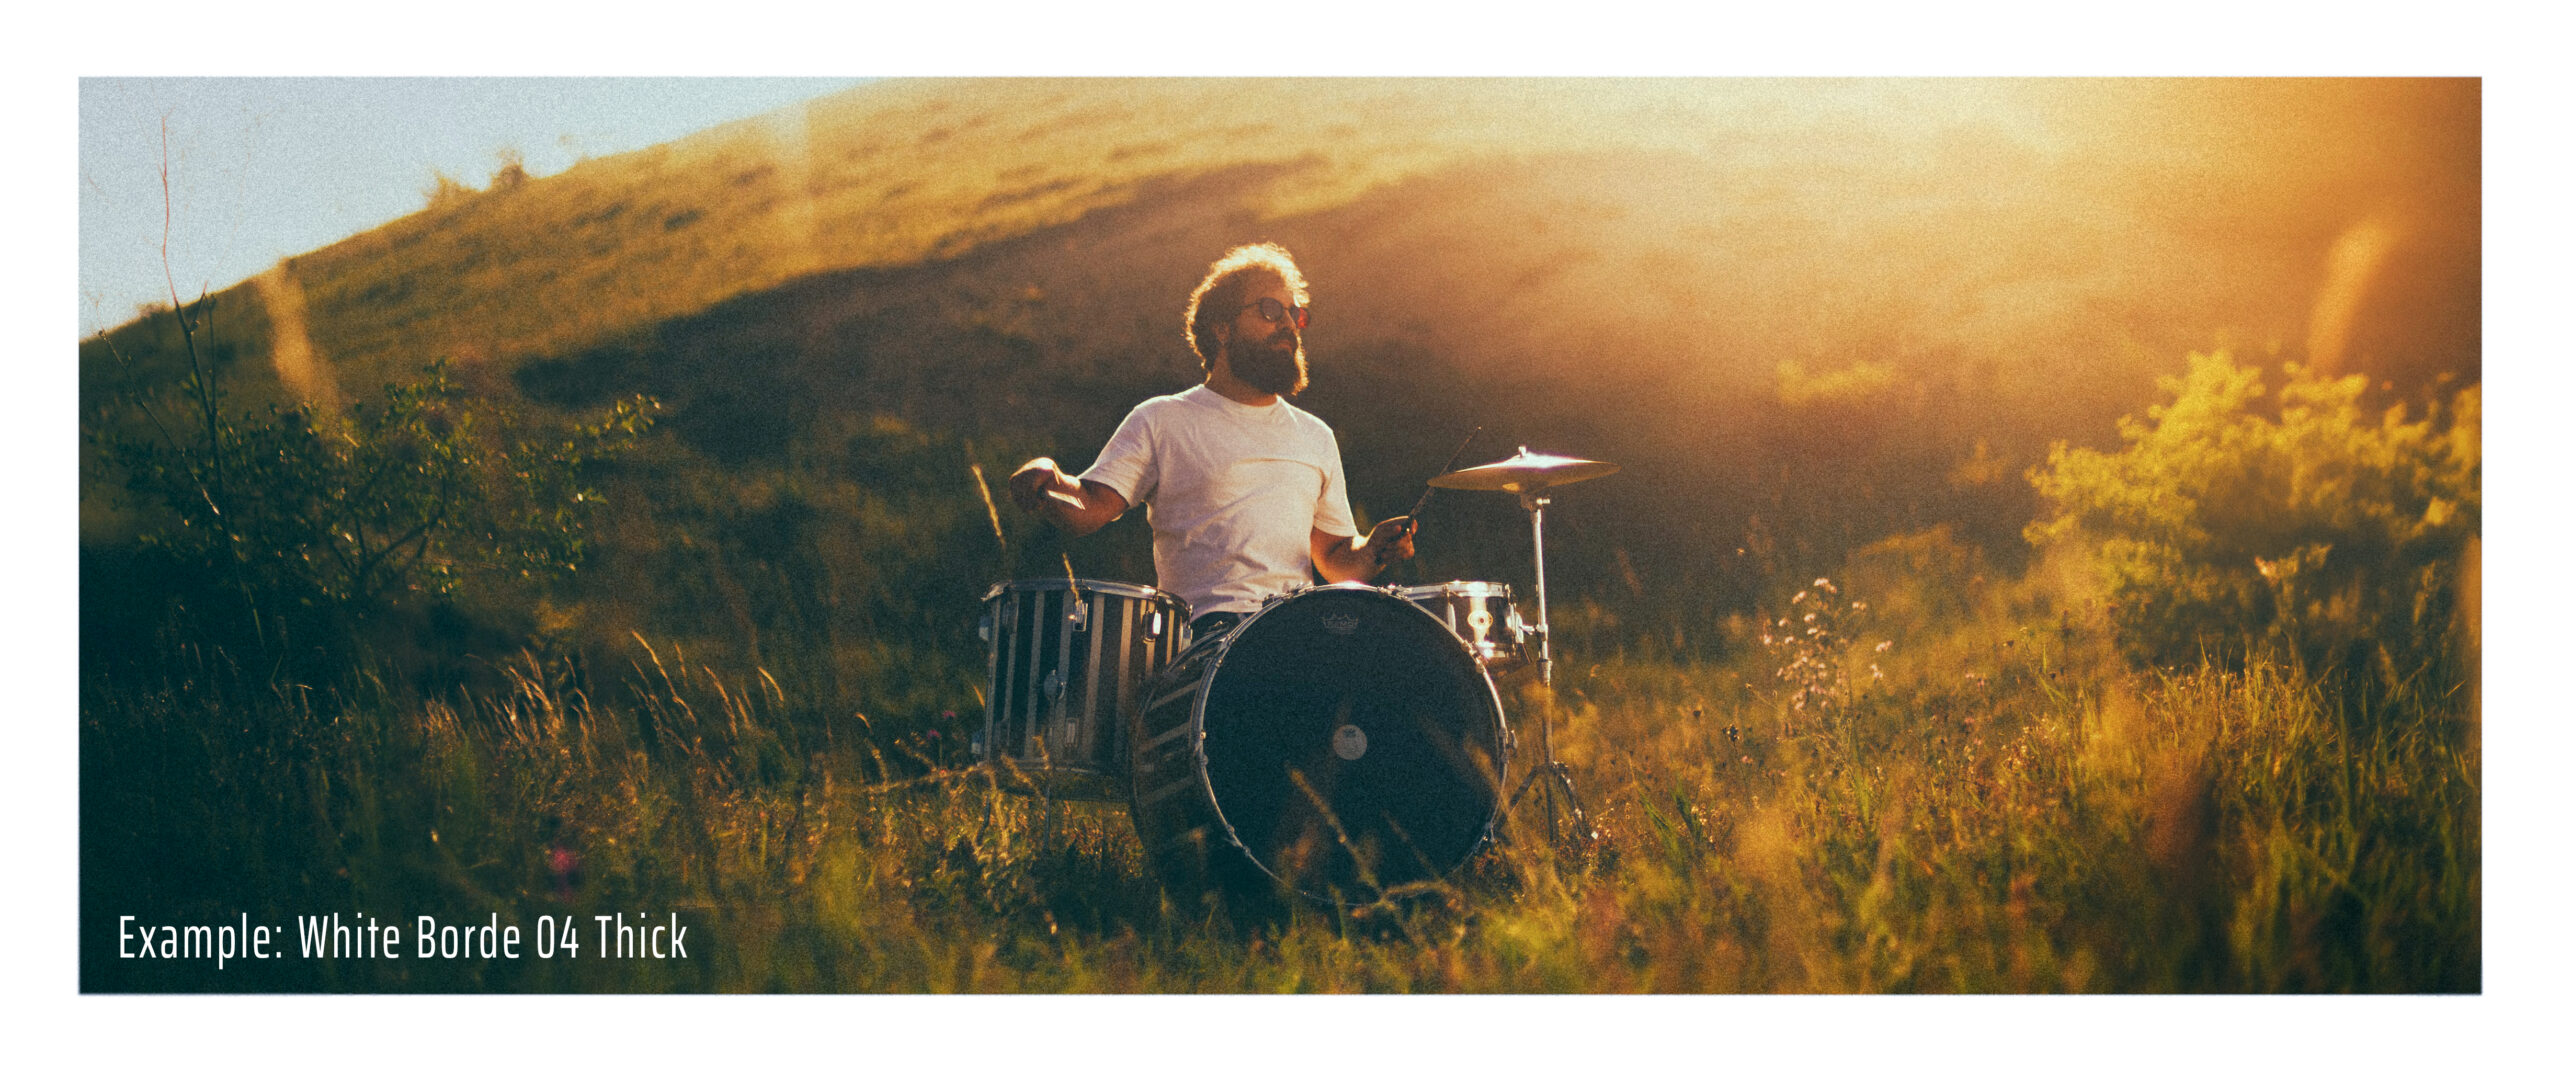
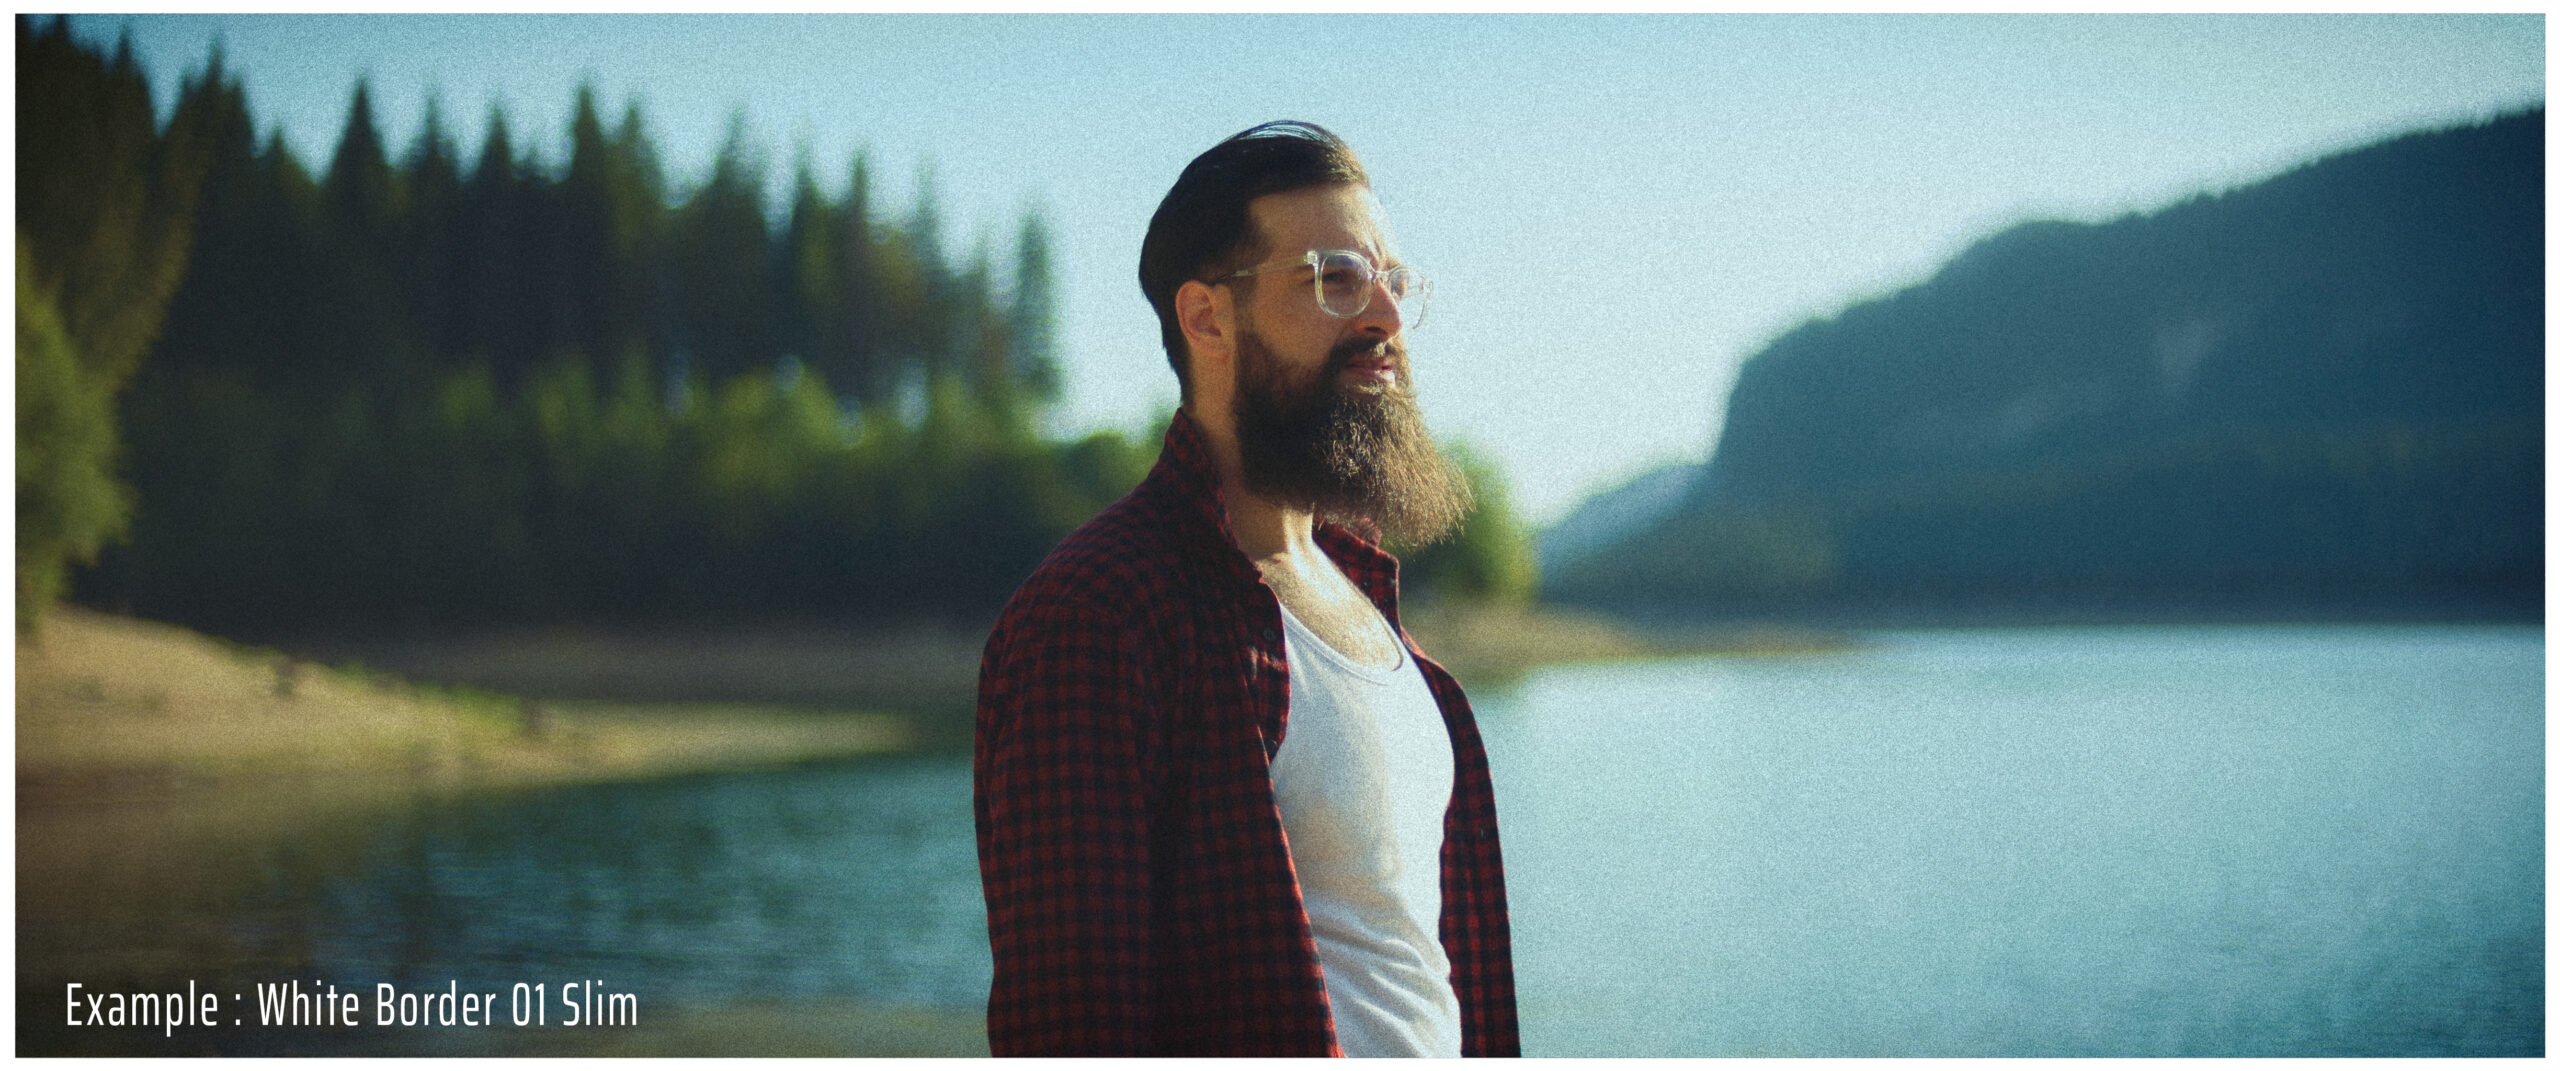
At the moment this bundle includes 12 presets: 6 White Border Presets: For a clean, minimalist, and timeless look and 6 Black Border Presets: for a bolder, more dramatic, but eye-catching vibe. With double the options, you’ll have the perfect border for any style or mood. But I’m looking to expand it in the future with borders that have rounded edges as well.
The best part? If you grab it now, you’ll get access to all future updates at no extra cost. Your support now makes a huge difference and helps me keep improving and adding more to this pack!”
Why Lightroom Borders Are a Game-Changer?
- No Photoshop Required: Finally, you can add white borders directly in Lightroom – no Photoshop or third-party software.
- Non-Destructive Editing: Toggle the borders on and off with ease, ensuring your original photo remains untouched. Perfect for different exports or client preferences.
- Not an afterthought: You can adjust colors and tones in photographs: with the border applied, ensuring your final edit looks exactly as intended.
- Aspect Ratio Agnostic: Whether your photo is square, portrait, or landscape, the border width stays consistent, giving your work a polished, professional look every time.
- Space saving: Say goodbye to having the same file multiple times on your hard drives with different borders. You can now use virtual copies inside lightroom and save valuable space on disk.
Limitations of the Lightroom Borders
Ofcourts since my method is just a workaround that used masking tools to bring a new feature to Lightroom there are a few limitations.
- The border is applied on top of your image, so a few pixels at the edges will be covered
- If you change the crop after applying a border, you’ll need to reapply the preset. Due to what seems to be a Lightroom bug, you will have to reset the border either by deleting the mask or by applying any other border preset and then applying the one you have previously used.
- Lightroom processes masks in order. If you apply the border early in your edit, later masks might alter the exposure in that area. For pure black or white borders, delete and apply the Border preset again after finishing your editing.
- Borders can’t be applied outside the image area. If you use distortion controls or transform tools without Constrain Crop checked, Lightroom may create transparent zones, but masks won’t work in those areas. So the Lightroom Border Presets won’t be able to do it either.
Conclusion
This adventure alongside All in One Grain, the Smooth saturation roll-off presets, and a few others is just another chapter in my ongoing exploration of Lightroom. While it’s not always easy, especially when tackling software with limited documentation, I’ve found that diving deeper into how Lightroom works behind the scenes has only enhanced my approach to photography and post-processing. By pushing the boundaries of what’s possible in Lightroom, I continue to learn and evolve as an editor. Whether you choose to create your own borders or use the presets I’ve made, I hope this article inspires you to experiment and make Lightroom work for your unique style.