I will preface this by saying that I am not an Adobe fanboy and if this is not clear, I am not paid to praise the Lightroom Classic team in this post. In the last year or so they have taken this software that seemed to be fading away in favor of the mobile-oriented Lightroom (that still lacks the calibration panel in the develop module) and transformed it into a powerhouse. And in the last version, they added an absolutely amazing new feature that makes film emulation a lot easier to the newest version of Lightroom. And nobody’s talking about it. So let me be the one.
The Problem with Previous Grain Effects
Let’s be real. Until now, adding grain in Lightroom for film emulation was kind of crappy. All you had to work with was a general slider that would affect the entire image evenly and that’s not really how film grain behaves. Grain is made out of organic particles that react to light and they are more or less apparent in different parts of the image based on how much light they have been exposed to. Because of this uniformity, what you would get until now, looked a lot more like digital noise than analog grain.
The Game-Changing Solution
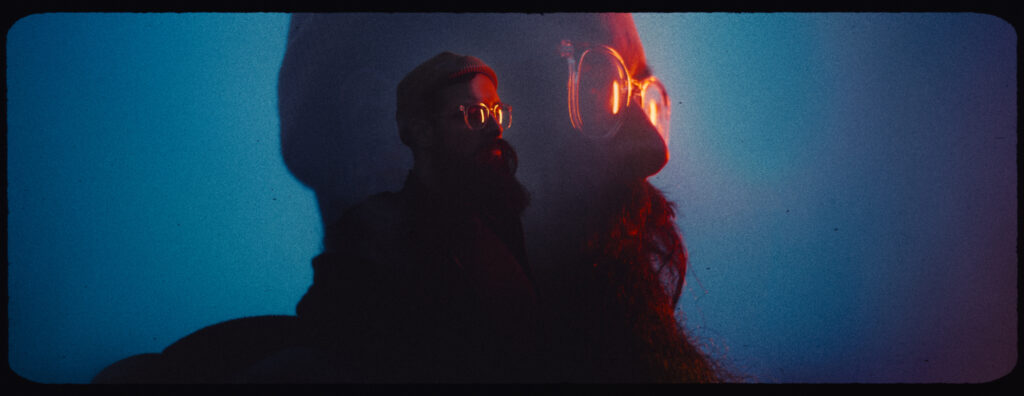
The amazing thing that they did was adding grain controls on the masking panel. This combined with the fact that you can procedurally generate masks based on luminosity values and edit them in real-time is an absolute banger. In simpler terms, this just means that you can add more grain in your highlights and midtones than in your shadows and that’s exactly how actual film behaves. Keep in mind that the Size and Roughness are global settings and are shared across all Grain tools. So my recommendation is to add 1 Grain in the old grain panel and control the Size and Roughness from there as it will affect the entire image anyway. Now combining this with the fact that you can reduce the Clarity/ Sharpness of the same mask means you can also lower the film resolution. You want to do this because, on film, the images are composed of grain. Be it silver halides or dye granules, they are organic shapes that are distributed unevenly in an emulsion and when exposed to light they create the image you finally see. So if you fine-tune this well you’ll no longer have details that are smaller than the grain granule and this will help you sell the film emulation way better.
This could get even better in the future
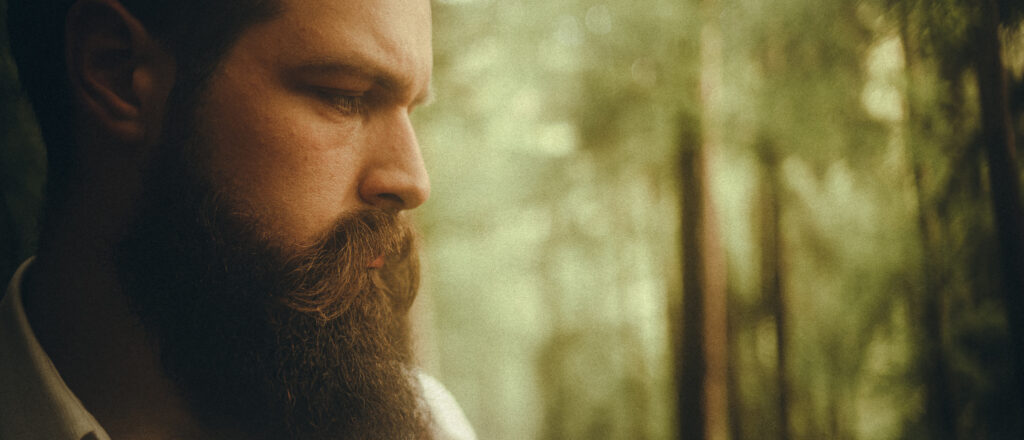
Of course, it’s not all perfect. One more thing that I would love to see from the Lightroom team would be the implementation of color in the grain algorithm. The natural grain in the colored film is not monochromatic and a slider to control the color aberration in the grain particles would make the tool a lot more complete. But please make it only have hues sampled from the shot or make it be affected by the rest of the color tools so the final images will look cohesive.
Let’s make this quicker
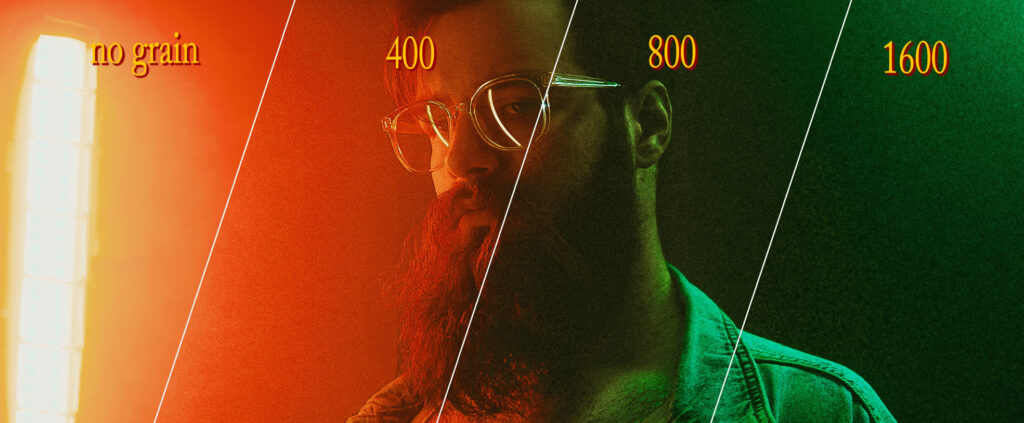
Adding 3 masks to every photo you want to have a bit of grain will become annoying fast. So to make the process more convenient for myself and others, I’ve created a set of 3 Lightroom presets that will add the 3 masks. One for highlights, one for mid-tones, and one for shadows with different values of grain for each. There are 3 versions of it, each of them aiming to simulate a specific ISO on film. And not only do they apply the grain but they also lower the sharpness in those specific areas. Pretty much a one-stop shop for a good grain setup. That can easily be tuned to fit your style afterward. You can grab the presets for next to nothing while also supporting me so I can write more articles like this one.
One last thing to keep in mind. Even though Lightroom Grain has received a massive improvement with this update its capabilities are far from what you can achieve with a scanned grain overlay but at the same time it’s a very nice middle ground as it will take almost no time to apply.
To learn more about complex ways to add grain to your digital images make sure to read my previous article on the topic here: The rabbit hole of adding grain to digital photos is deeper than you think
