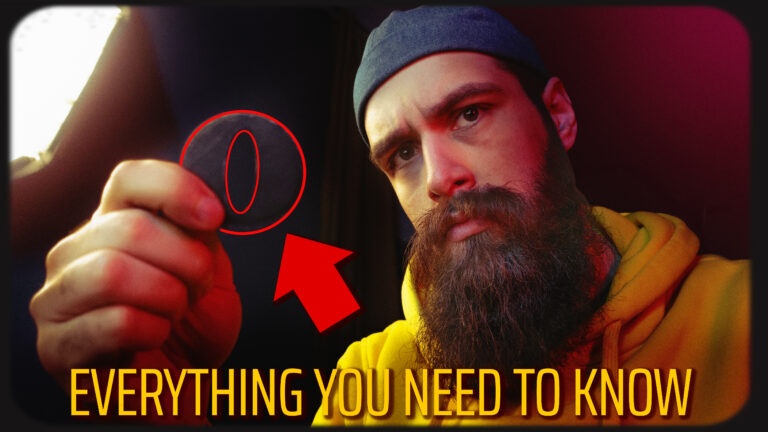
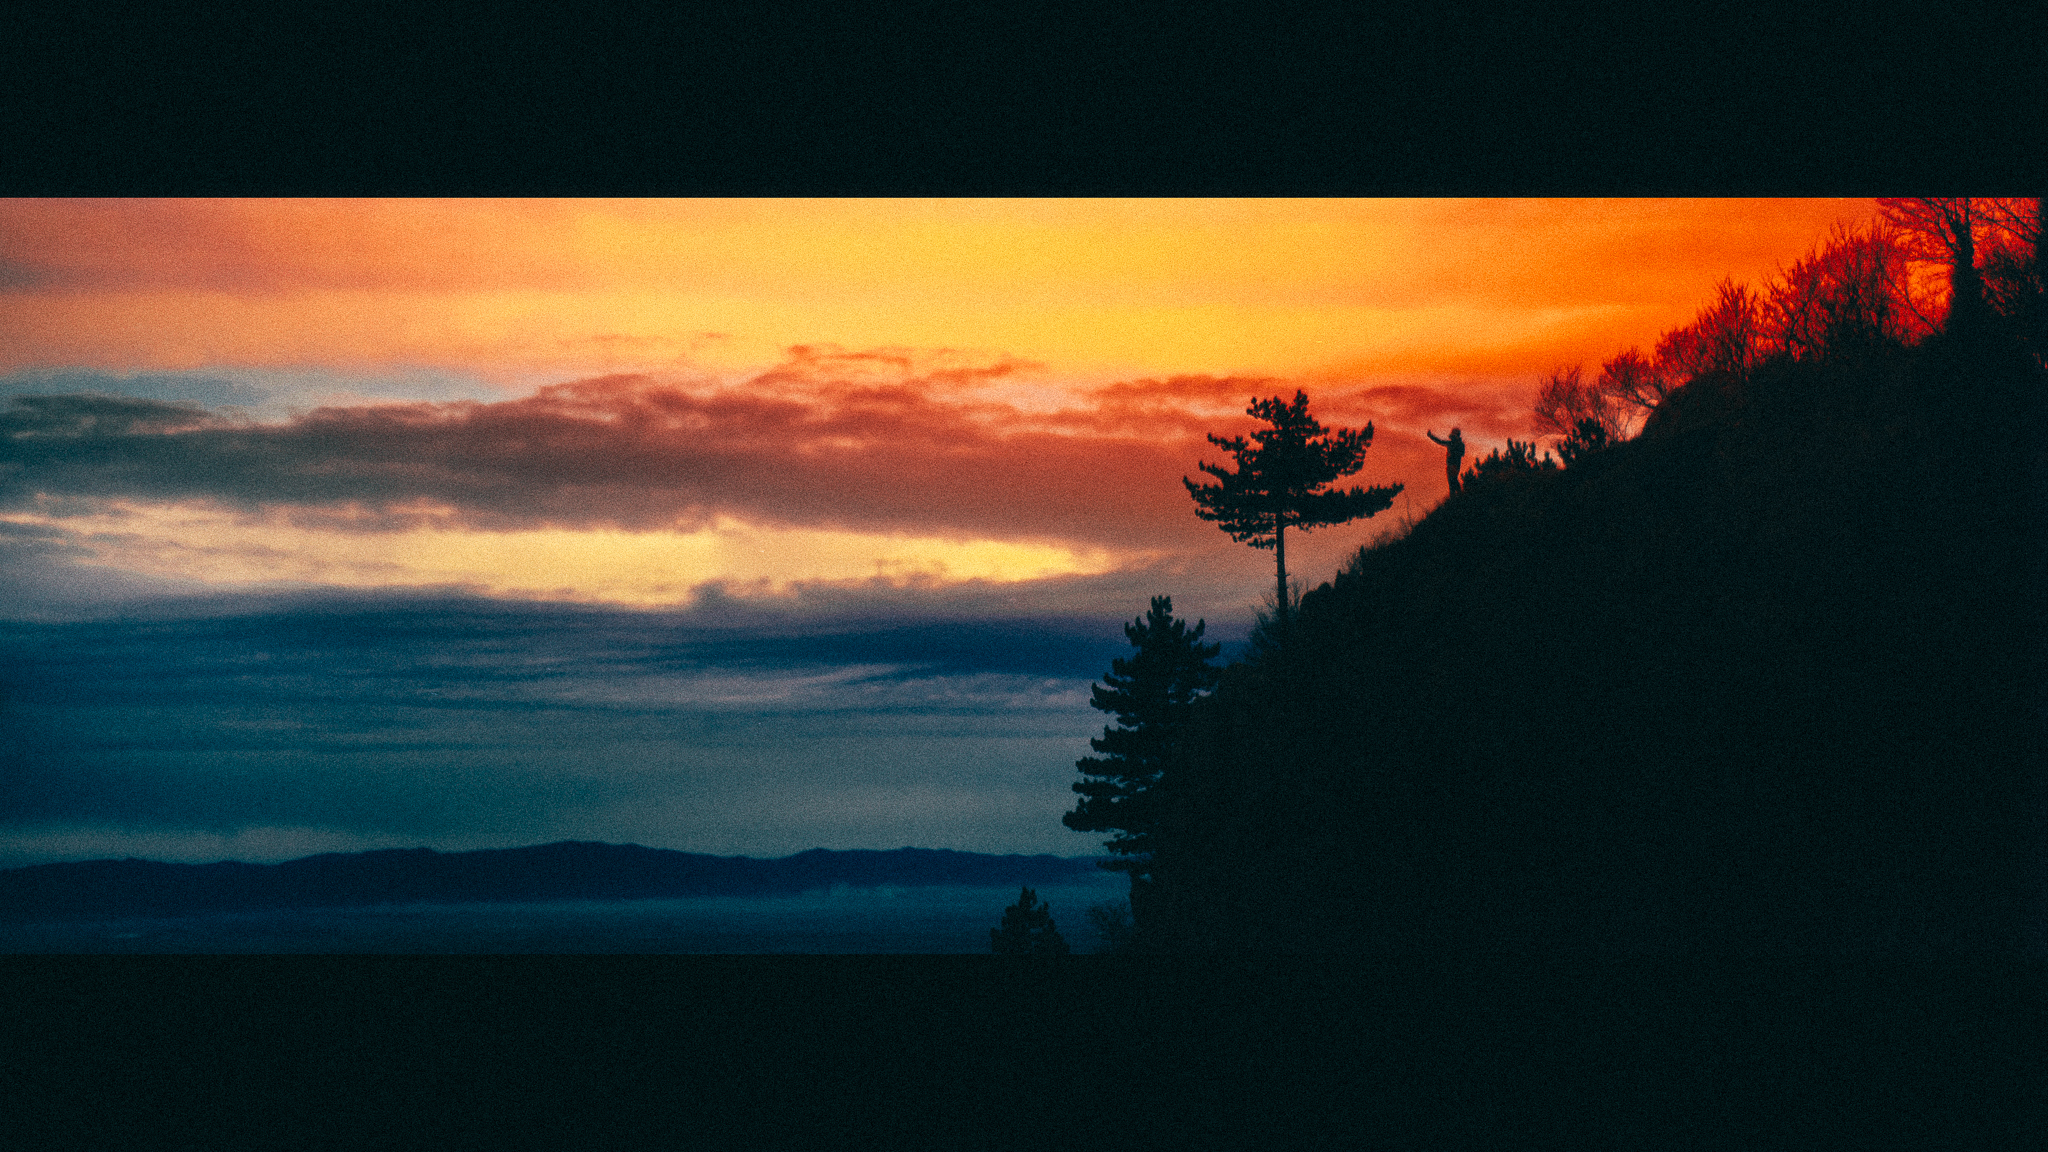
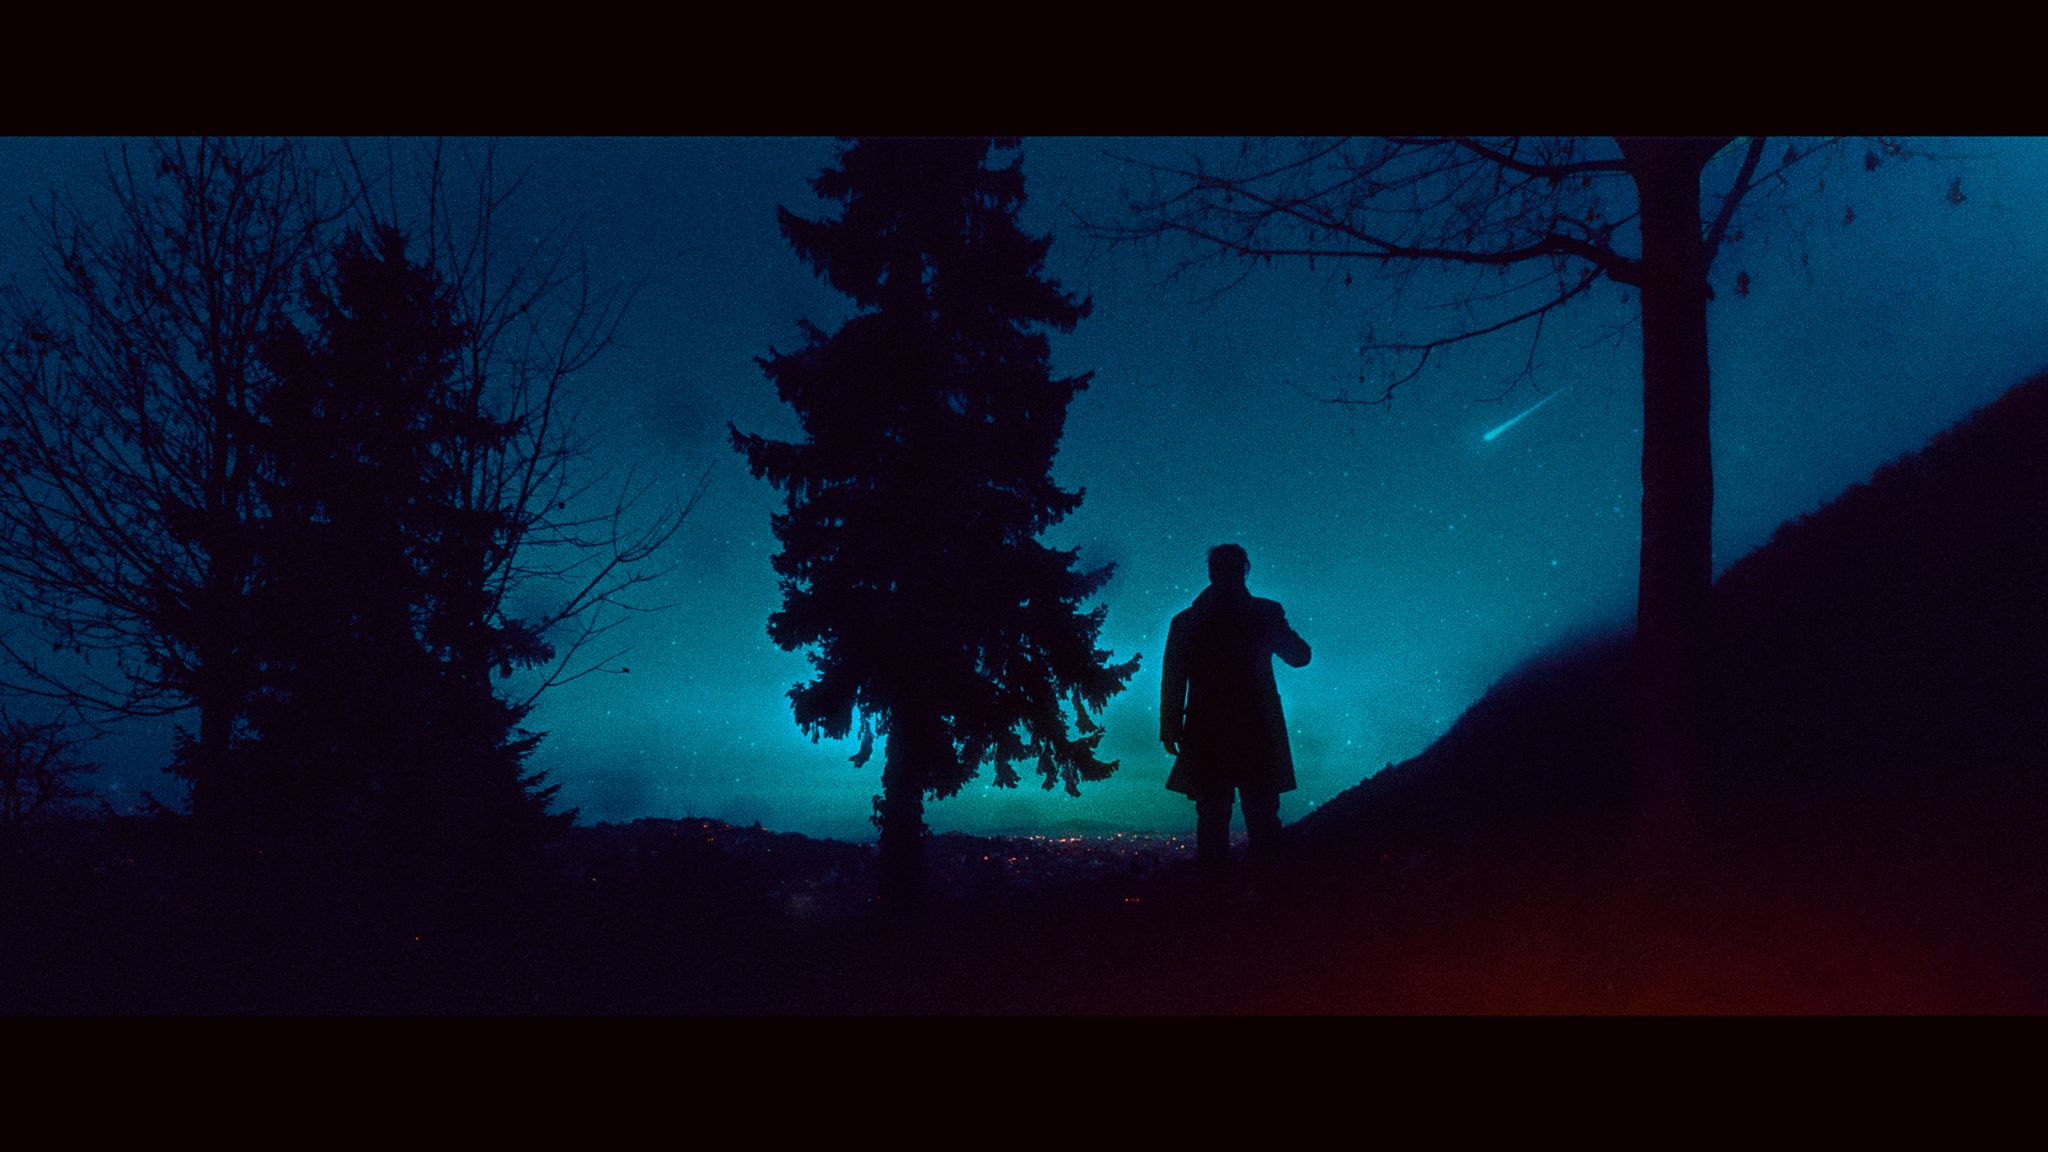
As a portrait photographer, I’ve recently become fascinated with capturing silhouettes in nature. However, this poses a challenge when I’m out in the field without a model to pose for the camera. In order to achieve the perfect shot, I needed to find a way to remotely control my DSLR from a distance. What followed was a journey of trial and error as I searched for a reliable way to frame and shoot while I was away from the camera.
I had no part in developing the methods described in this article. These are simply my experiences and conclusions after trying them out on my own, in the hopes that others can learn from my experiences so don’t expect a step-by-step tutorial. Those are available with a quick google search.
Option 1: Interval Shooting Mode (No Investment in Gear) – This method involves setting your camera to shoot on the interval shooting mode and then posing for the camera. While some photographers have had great success with this approach, I found that it lacks control over camera settings and real-time feedback on the shot. As a result, it felt more like “spray and pray” than precise and intentional photography. Not to mention that at the end of the day, you have hundreds of images to cull through, an aspect that is great if you plan to do compositing work but not something that I’m looking forward to.

Option 2: Remote camera triggers. – We are going to skip over the wired remotes because they are clearly not the way to go when you want to shoot in the middle of nowhere. Carrying 100 meters of cable around it would be a joke even if that wire existed so we will jump into the wireless category straight away. Here we have IR (infrared) remotes and radio controllers or triggers. IR remotes are outdated tech that works up to an advertised distance of around 10 meters, giving you just a button for the shutter and their only real benefit is that they are dirt cheap. Radio controllers on the other hand are the first ones that start to make some sense. They operate over longer distances. The advertised distance is 100 meters but I had success using them at longer ranges while I’m away from the city and the radio interference. You tend to only have control over the shutter button and have no feedback on what your shot looks like. While reliability is not generally a problem with them and the fact that they are small and pocketable helps a lot with posing the worst part is that over 50+ meters you will not hear the shutter clicking and start wondering if it worked or not. So while using these I ended up going back to the camera a few times to adjust settings, check the shots, and make sure it actually triggered. So the general experience was a bit frustrating but with careful planning, I would give radio remote triggers a pass.
Option 3: Remote control of the camera with a phone. – I think by now most modern cameras come with built-in WiFi and a corresponding app that allows users to remotely control their camera with their phone. However, my experience with this option was extremely disappointing due to the limited range of the WiFi signal my old camera offers (20 meters at best). Every time I turned my back to the camera, the signal dropped, making this option practically unusable for me. Not to mention the joke that is the Nikon phone app.
Option 4: Third-party solutions like the Camranger – I have no experience using them because at around 350$ this is way out of the budget of someone shooting on a 10-year-old camera. It generally seems like a great option from the online reviews but it is not a viable solution for someone on a budget. They do offer the ability to remotely control the settings on your camera via their phone app, a live video feed, and the ability to remotely trigger the camera.
My end-game solution:

After trying out the various options mentioned above and finding that none of them fully met my needs, I turned to the internet for solutions. That’s when I discovered that photographers have been using old portable WiFi routers to create DIY Camrangers for years. All you need for this solution is a specific old router, a USB cable, and a power bank.
These routers were originally designed to take internet from a USB stick and broadcast it as WiFi for nearby devices, but by plugging the camera into the USB port, you can use the router to remotely control and monitor the camera. Several models can be converted for this purpose, but I chose the TL-MR3020. This one in particular has a very small footprint and it can be powered from any power bank, so there is no need to worry about charging the router before you leave the house. While it may be difficult to find new, it can be purchased used for around $10-$15. The process of converting the router was simple: I just connected it to my PC via ethernet cable, uploaded a new firmware file, and waited a couple of minutes for the new software to install.
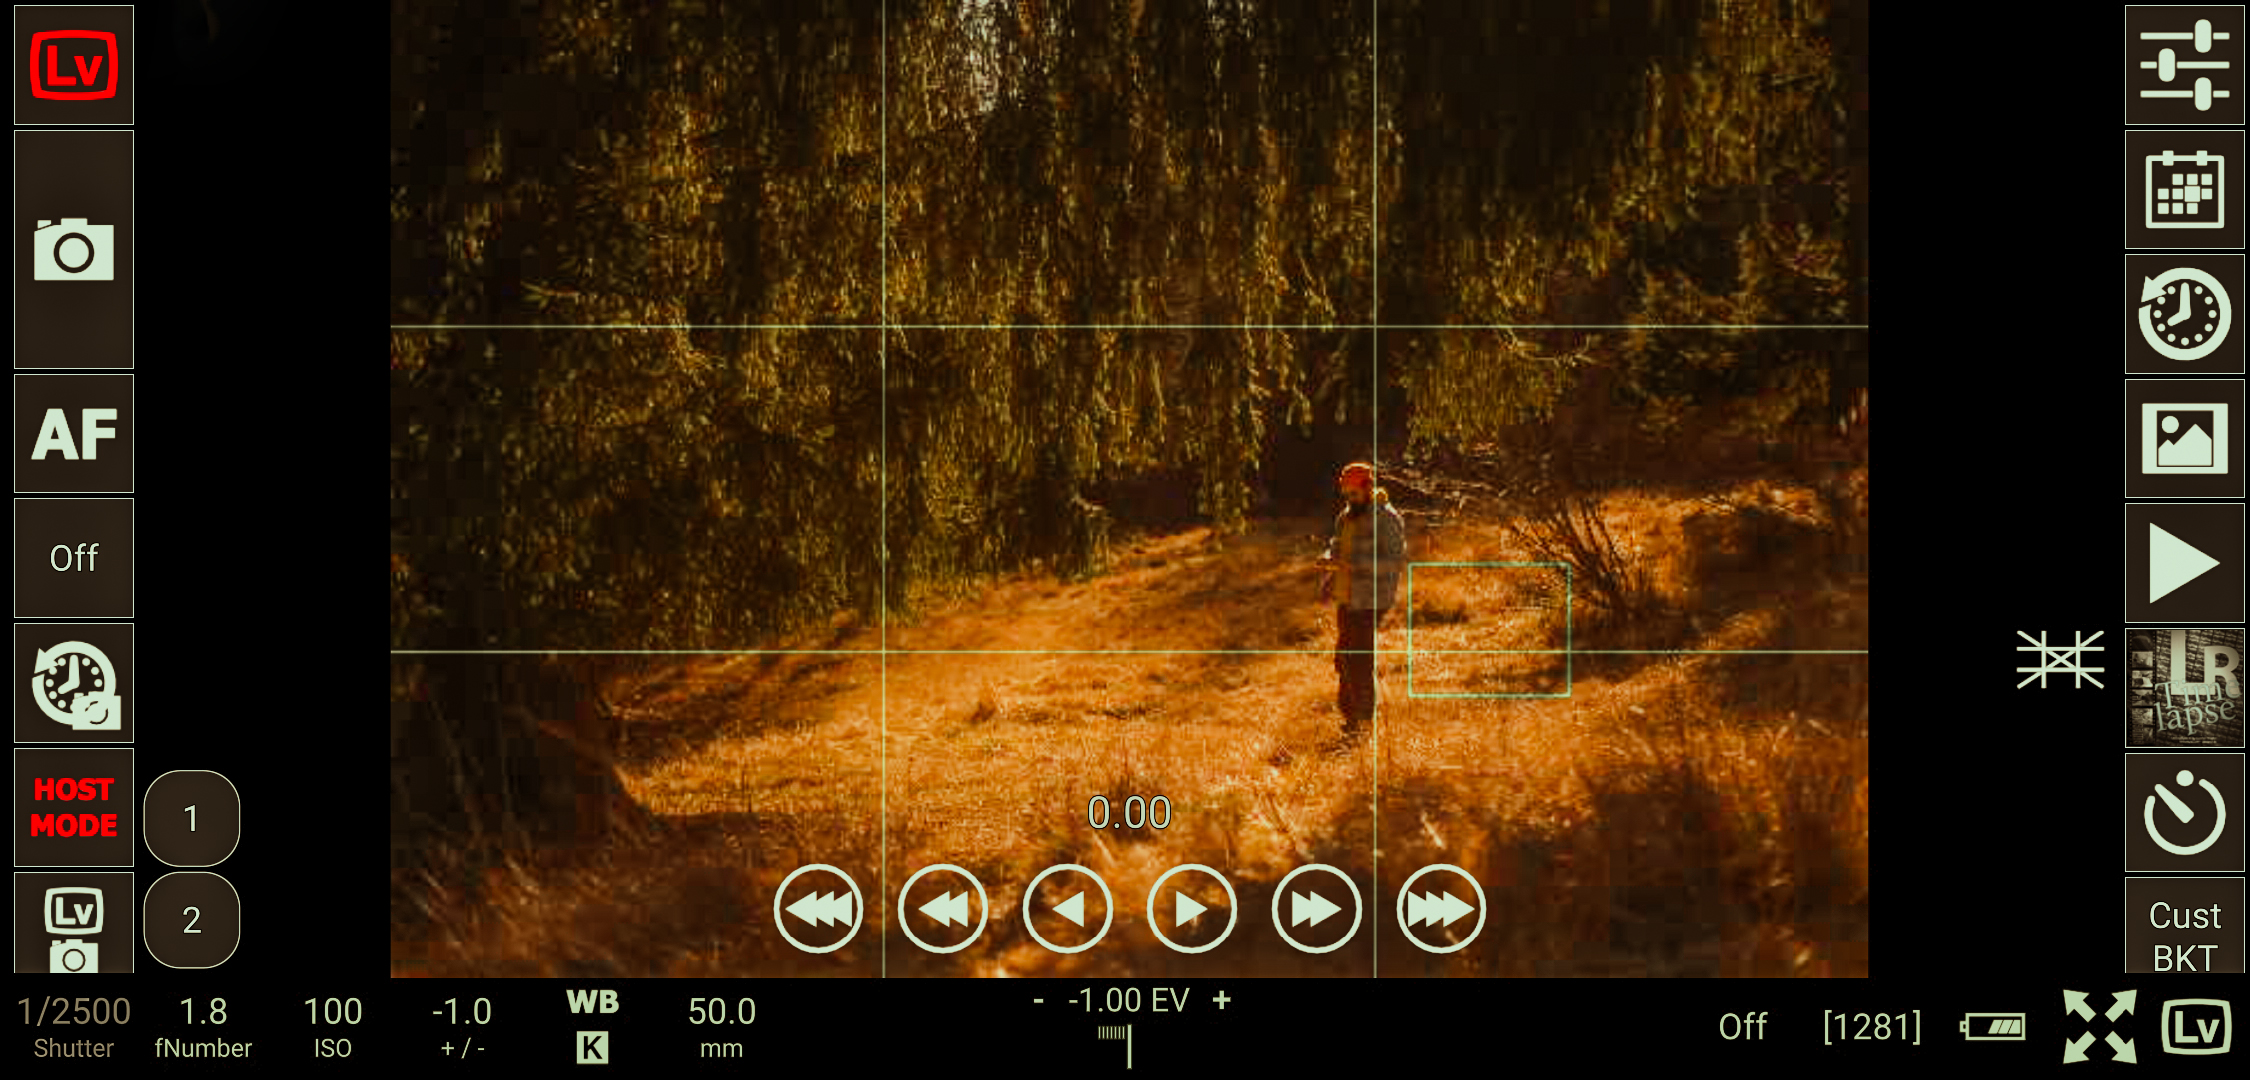
On the phone side of things, this works with an app called qDslrDashboard by Zoltan Hubai the same guy who create the modded firmware I’m using on the router. It is available for both Android and iOS and it can also be used with any computer that has Wi-Fi capabilities. The app interface might be a bit overwhelming at times giving you all the possible options you would ever need but once you mastered it you do have control over all the camera functions and you have a live video feed from the camera sensor in your phone and even download full-size files to the phone after you shot them at a much faster speed than my cameras Wi-Fi. Not only that but it also brought a few extra features. On top of the live camera feed it can overlay custom aspect ratios, and framing grids, generate live histograms, and even offers focus peaking. So you are getting the same functionality of a wireless but crappy field monitor.
After completing the one-time installation process, using the TL-MR3020 router to remotely control my camera was seamless on location. I simply had to connect the router to a power bank and the camera to the router with a USB cable. Then, my phone would automatically connect to the WiFi and I had full control over the camera. The connection was extremely reliable, with a range that exceeded my expectations at around 150 meters. I’ve also seen people online who have modded the MR3020 with an external antenna and claim to get even more range out of the device and I plan to experiment with this in the future as well.
A few useful links if you want to embark on a similar project would be https://dslrdashboard.info/, especially the forum section, a firmware flashing tutorial that can be followed closely even if you don’t understand the language https://youtu.be/E2BsFrnwn4k, and last but not least here is a very basic app walkthrough https://youtu.be/UNqqokxK8mM