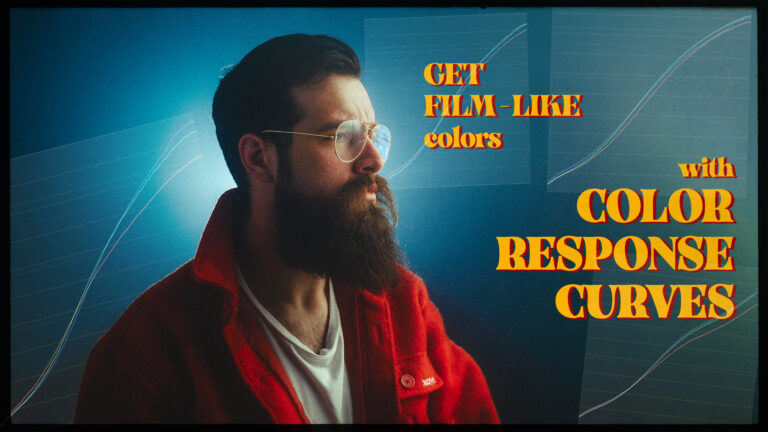
There is a huge difference between saving all your settings when you are done with an image and carefully crafting a preset that will be useful for others. Our shooting styles are unique, we rock different gear, and heck, we don’t even capture our photos in the same conditions. So, why on earth are we sharing all the settings? It just doesn’t add up! In my opinion, a good Lightroom preset should help you build a look and could be used anytime in the editing workflow to push your images to the next level without resetting your entire mood.
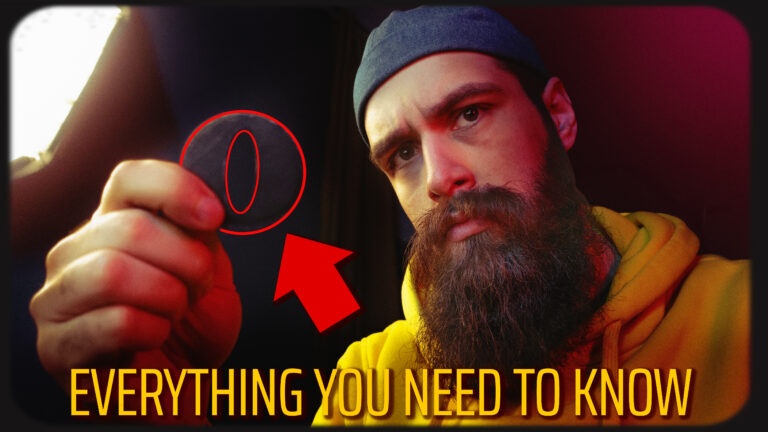
Some presets are just annoying to use
Don’t you hate it when you are playing around in Lightroom seeking a look for your images and half of the presets in your library completely reset what you have done so far to the image? A poorly made one will alter everything from basic exposure to lens profiles completely disregarding the fact that you are not a complete noob that slaps a preset on his images and calls it a day. But don’t you worry that’s exactly what I’m trying to address today. No matter if you are trying to make presets for yourself, for another photographer or you just bought a pack of overhyped presets and would like to upgrade them because the creator had no idea what he was doing.
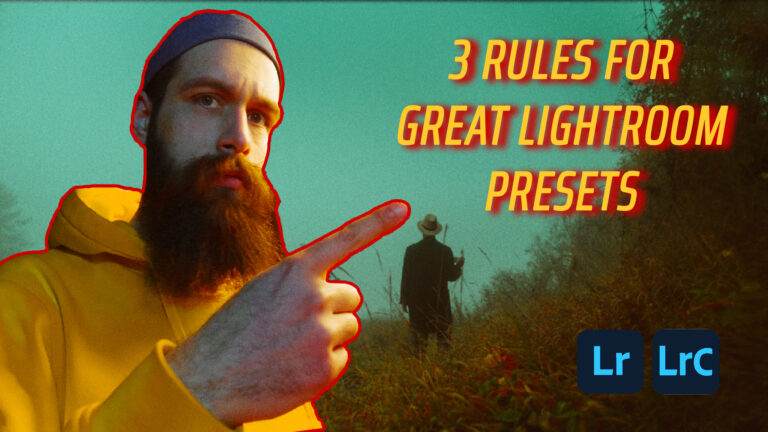
How to make awesome presets
Before I begin, keep in mind that here I will try to refer to presets that are broad in scope and try to achieve a look rather than doing one specific edit to the image. ( like my all in one grain presets that are based on luminosity masks and you should totally check out after reading this article)
I will try to go through all the Settings one can save in a Lightroom preset and discuss why I think they should / shouldn’t be part of a good preset.
First of all, be sure to leave unchecked everything that is not part of the look. There is no need to reset settings to default when applying a preset.
- Treatment and Profile – YES save the color profile. Doing so means it won’t mangle everything when someone has another one set as default.
- White balance – NO, hard no! One of the most important pillars for getting more info from your RAW files is starting with a correct white balance so even if you want to go for a very warm/cold look do this with the color-grading wheels or curves.
- Exposure – NO, most people use this slider to compensate their exposure. So let’s not touch this unless is absolutely necessary.
- Contrast – Maybe, I would strongly advise against it and would suggest using the parametric curves instead, but if the final look that you are trying to achieve calls for it go ahead.
- Highlights, Shadows, Whites, and Blacks – mostly NO I would reserve this for adjusting the amount of captured data we want to get in the final image. People use these to compensate for exposure errors and the dynamic range limitation of the camera.
- Texture & Clarity – YES there’s no reason not to include this in your preset they can help you crisp up the details or create atmosphere in your images
- Dehaze – YES just be careful to compensate for the exposure shifting that will occur as a result. Again I would do this using the curves.
- Saturation and Vibrance – YES absolutely but be mindful to also save the color profile if you are doing it so you don’t just compensate for a flat profile.
- Parametric Curve – YES this is one of the best places where you can set the contrast for the entire image
- Point curve – YES the point curve in Lightroom is akin to sculpting light itself an extremely powerful tool. Just be aware that it is based on the exposure so maybe when designing a preset for others don’t use it to fix your exposure.
- HSL – YES my only comment here is to pay attention not to use this for tweaking very specific things in your image but to use it in a generalistic way for look designing
- Color Grading – YES the three wheels are an invaluable tool for creating mood, atmosphere, and emotion in a photo, definitely use them in presets
- Sharpness & Noise reduction – mostly NO, unless the lack of sharpness is part of the look you are trying to create why save it?
- Lens Correction – NO Maybe if you have only one lens and you are only making the presets for yourself thinking that you will never buy a new lens but in any other situation baking this in a preset is silly
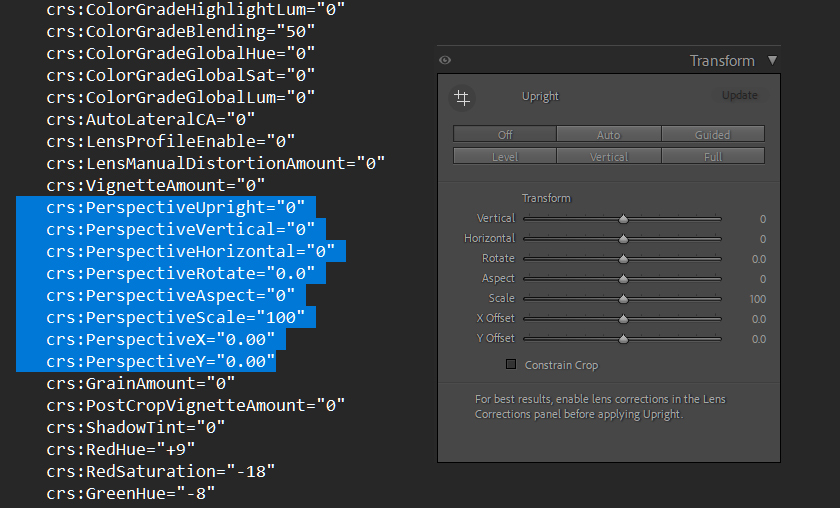
- Perspective Correction – NO Since it depends on the specific characteristics of each photo, such as the angle and distance from the subject there is no reason to ever save this
- Post Crop Vignetting – YES it’s perfectly fine to save these even tho nowadays adding a vignette is kind of outdated.
- Grain – YES If the look you are building requires grain sure go ahead and use it but applying film grain uniformly to an image is not the greatest way to do it. Check out my other article on the topic of grain in lightroom here: https://vmoldo.com/grain-in-lightroom/
- Healing – NO just don’t it makes no sense!
- Corp – NO for a generalist preset that aims to imprint just a certain color there’s no reason to mess with the crop. And if you are making one for yourself I’d suggest making it separately like a “crop image to 16×9” preset so you save like 2 clicks.
- Process version – YES Is there any reason not to use the latest one?
- Calibration – YES this one is one of the most powerful panels in Lightroom for color grading and it’s definitely usable for presets
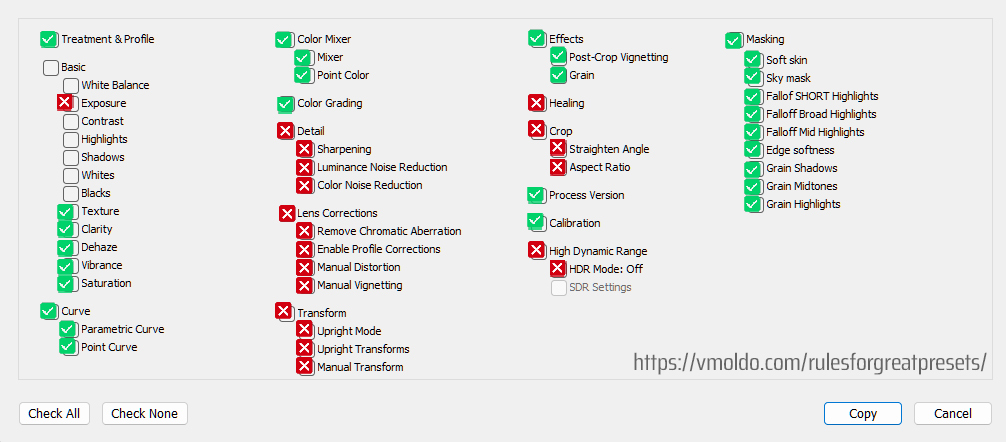
- MASKING – YES in the current era of Lightroom masks are one of the most important tools a photographer can use, they can be used for correcting and adjusting the light in the image but they can also be used as effects layers. But following a few steps before saving them in a preset will yield better results: First of all, ask yourself if the mask will apply to any other photos and if what you are trying to select with it will be selected by the same method in other images. I would try to use masking tools like Luminance Range / Color Range or Select Sky / Subject that will similar things all future images. The same goes for all the smart-masking features as long as Lightroom manages to select the persons in your photo. It’s also very important to rename your masks, this will prevent any conflict with other masks that are already applied by the user.
How to transform the presets that you already into awesome ones
Now let’s say you have bought a bunch of presets that have excellent color settings in them but are annoying to use because of the way they were made and you want bring them up to speed so you can use them in your workflow.
There are 2 ways to update a preset.
Before you start messing with your files create a backup folder so that in case you mess up some of your presets you can always restore them. To do this you can right-click in the preset list and select Show in Explorer. Select everything in that folder and back it up somewhere safe in case you need them later.
- The very easy but slow way. You can apply the preset to an image that has no settings applied to it, right-click on it in the list, and select “Update with Current Settings”. Now make sure to uncheck everything that is unnecessary for the look from the list and click update. Lightroom will proceed to rewrite the preset and discard everything you left unchecked. You can reset the image and repeat this procedure with the next preset.
- The Hakerman method. Lightroom stores its preset as text in a .xmp file that you can open with a simple text editor. It’s gonna look like code but in reality, it’s mostly English. If you take the time to read through one it’s going to be obvious what Lightroom slider or checkmark is every line of code affecting. Now that you have a very basic understanding of what you are looking at you can use an advanced text editor like Notepad++ (or Sublime Text if you are on Mac) to perform a search and replace operation on all of the presets you have in your presets folder. Let’s say, for example, you want to remove anything that has to do with the Transform tab from all of your presets. All you have to do is replace the 8 lines of code that start with “
crs:Perspective” with an empty space. Also, I usually remove the lines of code that just save the default value of a slider and clear out the Lens profiles, Distortion, Defringe settings, and the Sharpness and Denoise tabs.
I hope you found the information provided valuable. Presets serve as tools for photographers, and employing superior tools can streamline your work. By dedicating time to enhance our toolkit and grasp the usage of each tool, we can make our work more effortless and enjoyable.