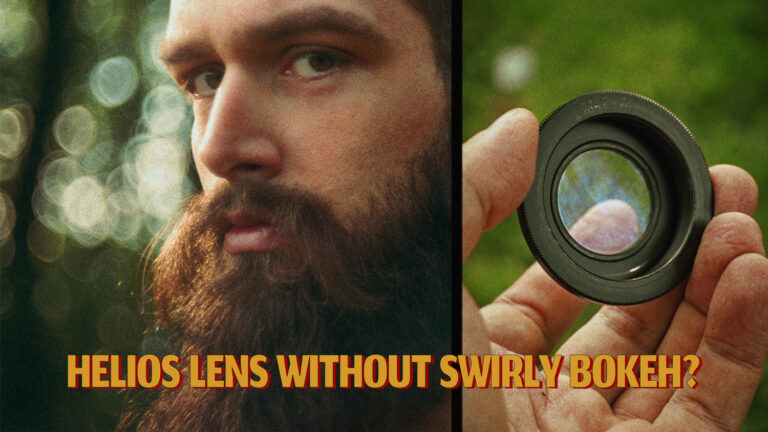
I’ll start this article by saying, I love shooting vintage glass for the character it can imprint on my images. I love the swirly bokeh, the bloom, and the flares and color rendition but I don’t always want the lens distortion, the chromatic aberration, or the vignette that these lenses naturally have.
Recently I picked up a Nikon 20mm AFD lens from the local second-hand market which, to be honest, is not even that vintage as production started in 1989. But being a wide-angle lens it has quite a significant barrel distortion and heavy vignetting. I do suspect that the one I got might be a bit damaged as it blooms more than any of the really vintage lenses in my collection, so maybe it has been tinkered with. As noted by www.kenrockwell.com “The Nikon 20mm AFD has a mildly complex distortion signature on FX and film. It has some barrel distortion in the central area of the image and tends to straighten out at the very edges. It has the same distortion at all distances.” Lightroom does have a lens profile for it but since I suspect someone has been tinkering with my lens in the past I wanted to make a custom lens profile just for it. So I busted out the old calibration chart.
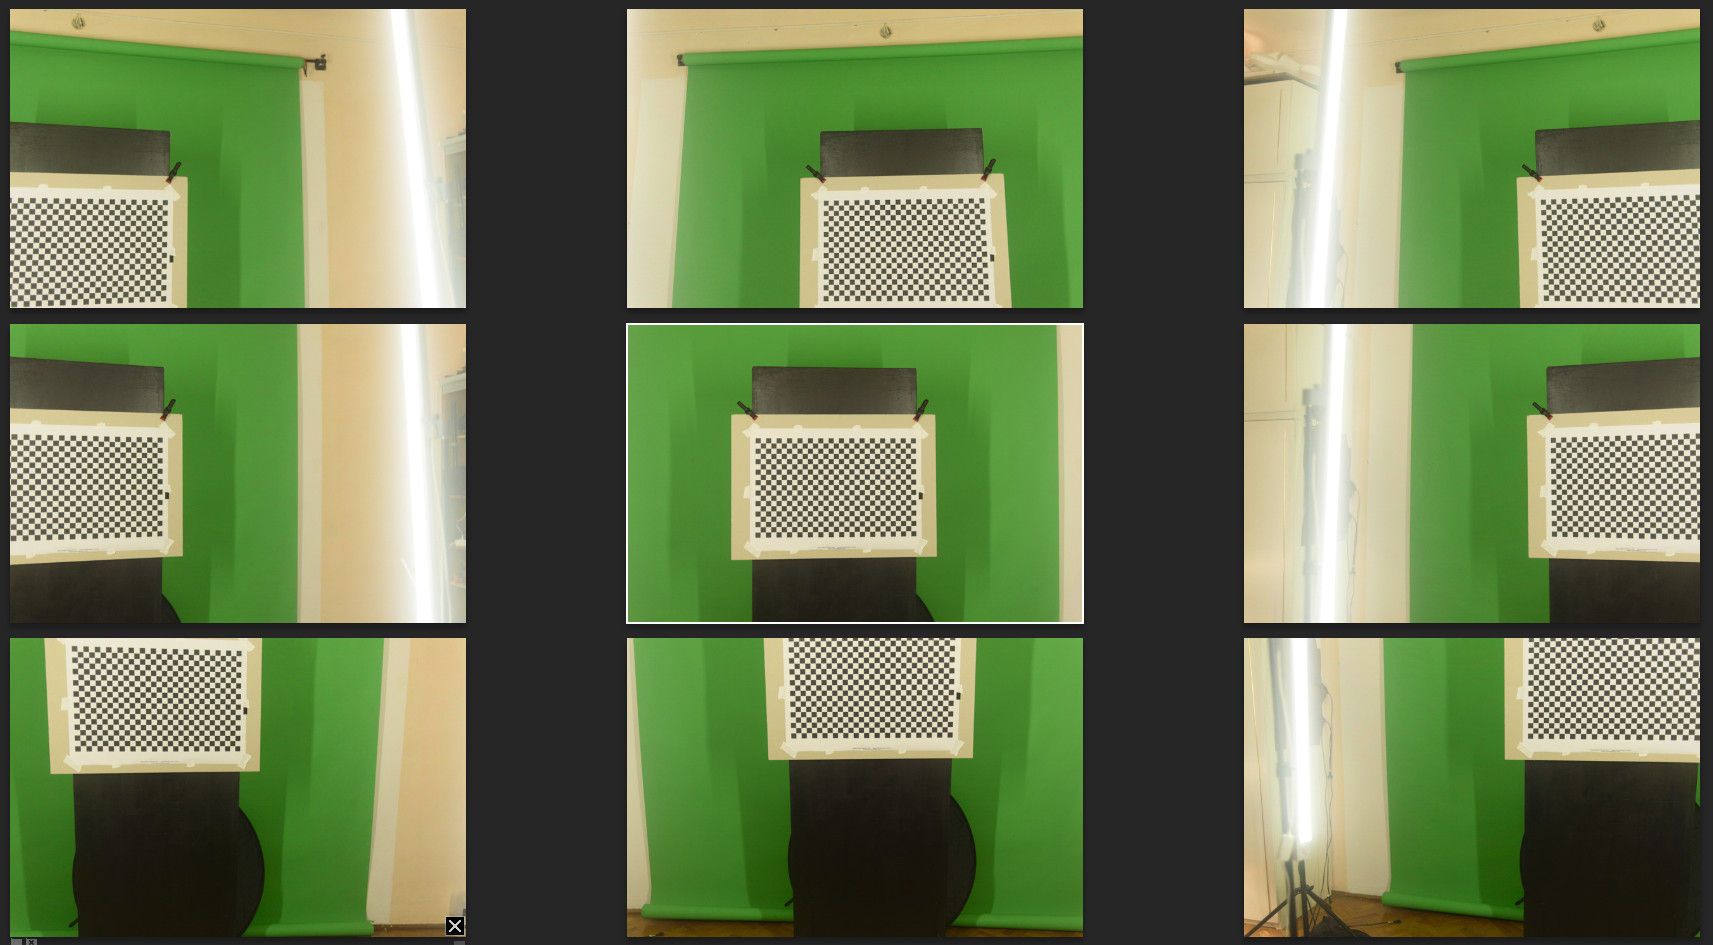
In order the create a lens profile for your specific lens you need a piece of software called “Adobe Lens Profile Creator” that you can get from HERE along with a printed calibration chart that you will find in a folder when downloading the software.
The process is rather annoying and time-consuming than it is complicated. You have to set up a checkered pattern flat on a wall and light it evenly. Then photograph it from multiple angles. The main goal is to take several photos so that when combined the checkered pattern will cover the entire frame. The bare minimum is 9 shots but I usually go for a grid of 3×5. You have to do this from various distances and with various aperture settings and for a zoom lens even multiple focal lengths. The most aspect while shooting all this is to take a set of images that are representative of the distances and aperture that you are most commonly going to use the lens for. Adobe provides detailed documentation along with the software on how to print and set everything up that is written like a Ph.D. thesis so it’s useful but not very easy to understand.
To get a good profile it takes a few tries as the software is ancient and it will spit random errors on the way that don’t necessarily mean what the error says. Things like “ran out of memory” usually mean failed to detect the grid properly. Also, I honestly don’t think it’s fully compatible with the latest DNG standards and the huge megapixel counts that our cameras can produce so the one piece of advice I got for you if you want to embark on this journey is to export your files with an older compatibility standard and keep trying.
When you get a good profile the results are a lot better than the generic profiles Lightroom has baked in. Because it will be specifically tuned for your lens and camera combo and will take into consideration any defects, and misalignments that your rig might have. The difference between kind of right and perfectly right is impossible to express in words but when you got a good profile you will know it. All the proportions in your shots will look perfect. And your images will immediately look more like something that you will see with your naked eye than something shot through a lens.
Now, custom lens distortion profiles for your specific lens can give you full control over which characteristics of the old glass you get in your final image and help make your photos look a lot more life-like. This is not necessarily a thing that you want in all of your images but it’s a tool that we as photographers should have in our image-making toolbox. And at the end of the day is up to you to decide how much realism you need in your final shots. As always my advice would be to ask yourself what is the story that you are trying to tell and what element can help you do it better.